Hints
The highlighted letters indicate the given topic, and below it, you will find the related tips.
Click on the help button, and you will see the tip in the drop-down menu.
Always start by opening the first level of help and proceed in order so that you don’t get too much help too soon 🙂
4-digit box
Hint 1.
The inventory sheet brings you closer to the solution.
Hint 2
The bones you found in the suitcase are marked with symbols.
Hint 3
Your mail has arrived! In the form of a wooden piece with symbols.
Hint 4
What numbers do you get if you match the missing parts of the inventory sheet with the symbols on the bones?
Solution
The value of the discovered symbols is 3849. You can deduce this by completing the inventory sheet.
Picture
Hint 1
Hint 2
Hint 3
Solution
Hint 1
Hint 2
There is a transparent lined sheet on the table. Combine it with the picture to find out what you must do.
Hint 3
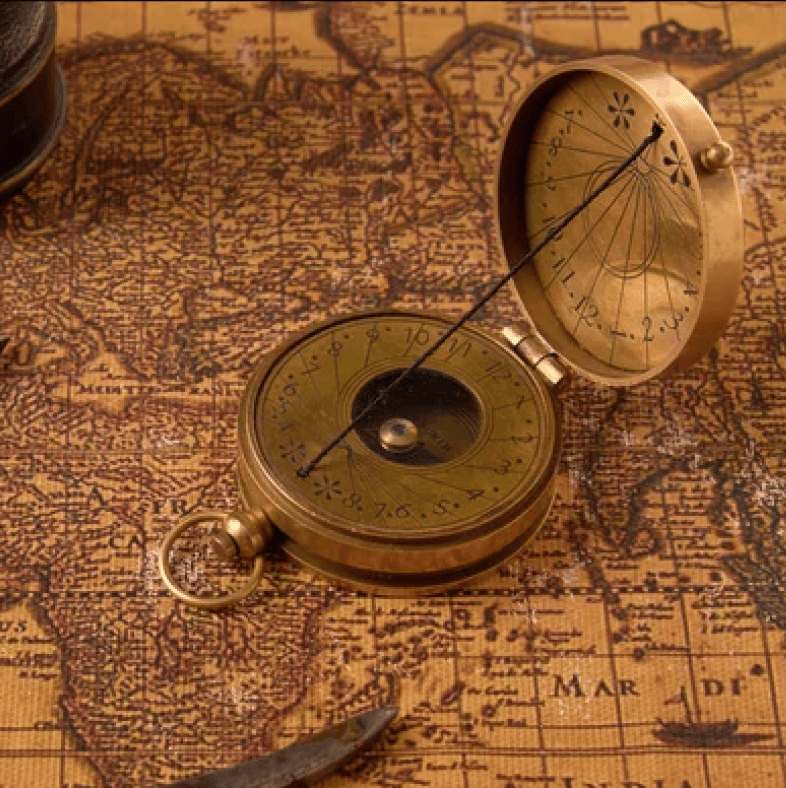
Map
Hint 1
Hint 2
Hint 3
Hint 4
Hint 5
Solution
Colored lights (colored buttons)
Hint 1
If you press a colored button on the device to the right of the table, the lights will show you a color sequence. Try to repeat it using the buttons.
A high-pitched tone after pressing a button means the correct color, a low tone means a mistake and you must start over.
Hint 2
Solution
red – yellow – blue – green – red – blue – green – yellow
After entering the correct color code, keep your eyes peeled—something changes in the room.
Wall sliding symbols
Hint 1
Besides the picture, the symbols on the floor may also be related to the solution. If you completed the colored lights task, you might already know how.
Solution

Dark green tricky chest (second room)
Hint 1
The sliding rods on the chest are numbered.
Hint 2
The chest is inscribed with: 6->1.
Solution
Pull out the rods in this order: 6-6-5-4-3-3-2-1.
Radio – Rhode Generator
Hint 1
You can find the correct radio settings in the box under the mailbox. If you set it correctly, the door below the radio will open.
Pyramid
Hint 1
An old photograph will help you assemble the pyramid.
Hint 2
Hint 3
Hint 4
Hint 5
Solution
By reading the start of the sequence on the box with a magnifier, you’ll discover that the numbers on one side of the pyramid should progress in increments of two: 2 – 4 – 6 – 8 – 10 – 12 – 14 – 16 – 18 – 20. Once this is arranged, press the cube on top. Make sure the pieces fit together very precisely.
Hint 1
Hint 2
Solution
“Gold attracts money.” Use the magnet to guide the coin in the display case toward the light.
Statue head
Hint 1
Hint 2
Hint 3
Solution
Once you have them, place them in the statue’s eyes and forehead.
Hint 1
Hint 2
Hint 3
The arrows show the way.
Hint 4
The starting point is the mark in the middle of the numbered wooden pieces. Starting from there, you can reach the code.
Hint 1
Hint 2
Solution
Each god’s head has different symbols. You can find the same symbols on the depicted gods in the picture, which gives you the correct order to place them.
Hint 1
Hint 2
Solution