Hints

The highlighted letters indicate the given topic, and below it, you will find the related tips.
Click on the help button, and you will see the tip in the drop-down menu.

Always start by opening the first level of help and proceed in order so that you don’t get too much help too soon 🙂

Start

Hint 1.

Looking up, you will find a target!

You need to shoot it with an arrow! If that doesn’t work, use another weapon—just a light hit will be enough!


Discs

Hint 1.

If you hit the target, you might have received small discs! You need to insert them into the correct slots!


Hint 2

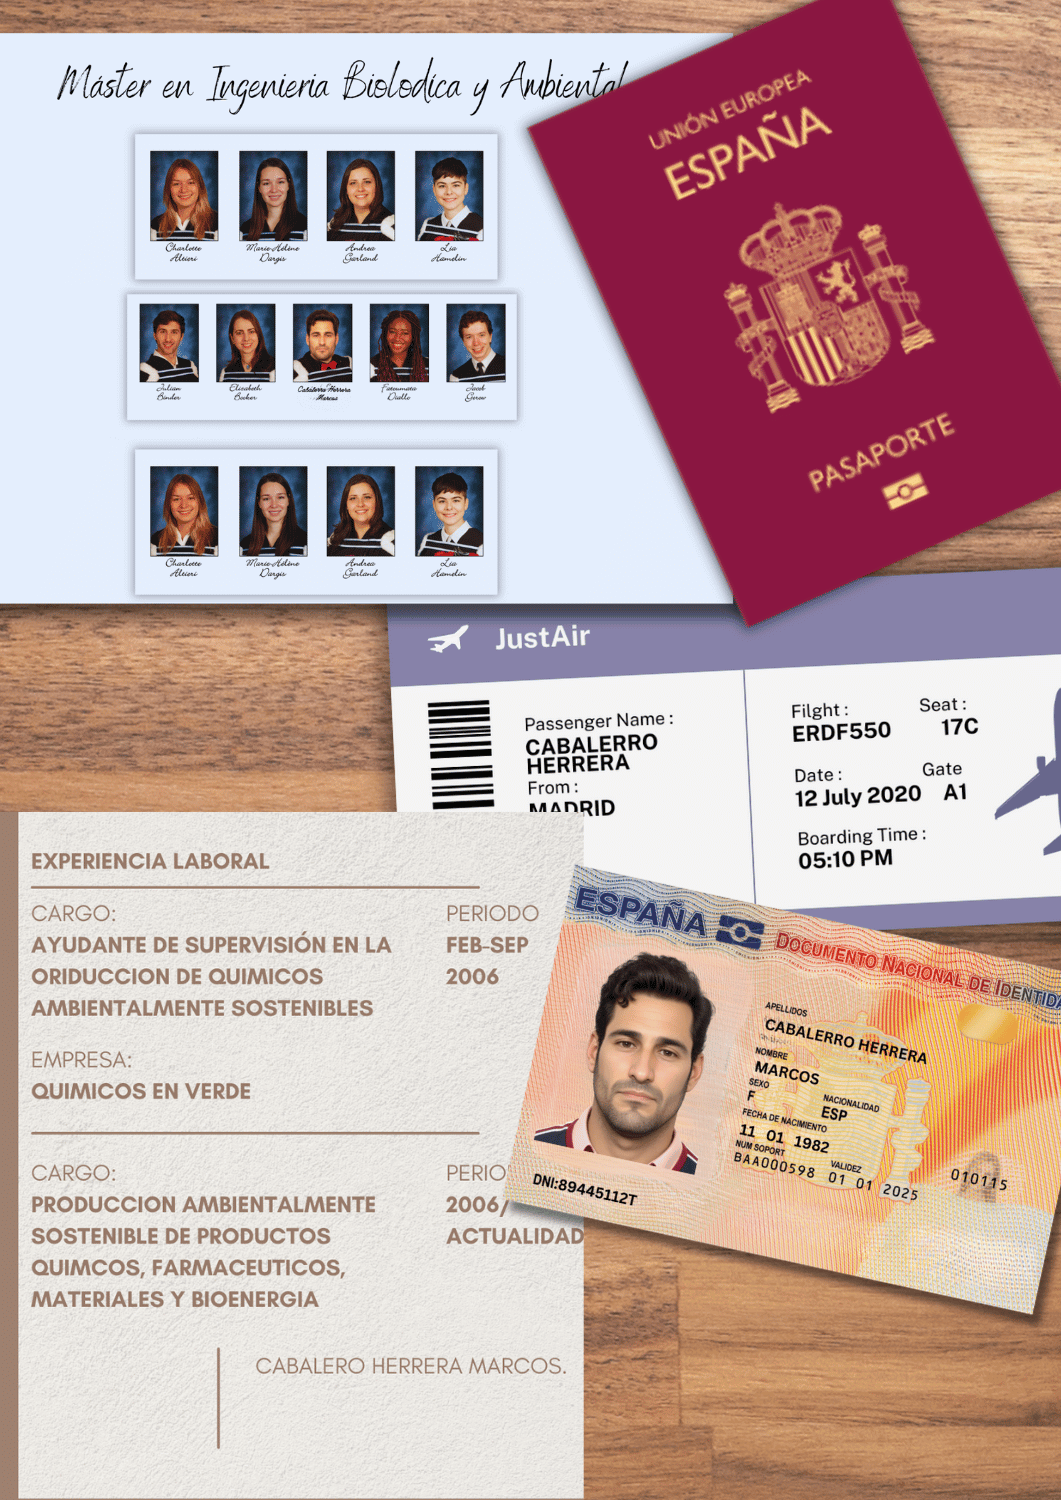
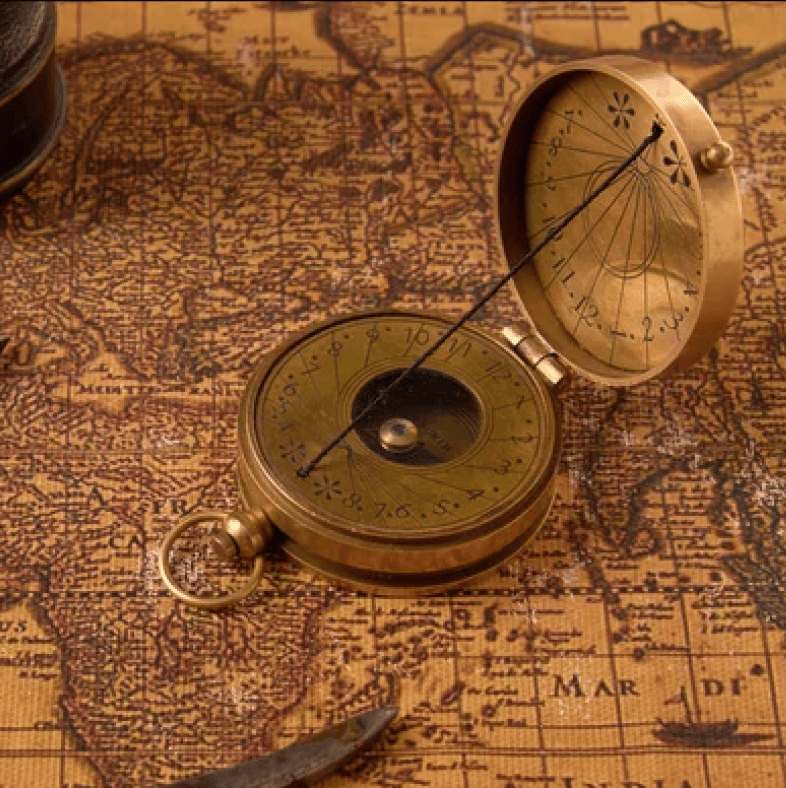
It’s important to check the map and the compass on it! Additionally, there is a description on the door below the target—be sure to read it!

Hint 3

You may notice that the compass is rotated! You need to insert the discs accordingly!

Room 2 – Triangle Puzzle

Hint 1

Start with the middle table. You’ll see that the drawings gradually lose elements—use this pattern to place the gray triangles in their correct spots!

Hint 2

The sequence follows a seven-sided shape, then six, then five. You need to assemble four quadrilaterals. Each time, you see one less shape. Recognize the logical pattern in how the shapes decrease.

Hint 3

Counting to the right, the x-th shape disappears each time. This helps you determine which ones remain, and you may notice that the top one never changes its position!

If done correctly, something in the room will open!

Room 2 – Ball

Hint 1

After obtaining the ball, you need to figure out where to roll it. You will see four black tubes on the table full of cylinders—one of them is the correct solution! Be careful not to test them randomly—first, make sure where it should go by solving the black cylinder task!

Hint 2

You’ll see objects like a mask or a pyramid with letter-number combinations. Examine these items and find the matching cylinders. Colors are also important!


Hint 3

Place the correct cylinders on the corresponding colored circles. Then, you are only one step away from the solution!


Hint 4

After positioning the cylinders on the correct circles, flip them over! This will reveal which of the four tubes the ball should be rolled into!

Room 2 – Golden Puzzle

Hint 1

Once you have the puzzle pieces, assemble them on the foldable table!

Room 2 – Cubes (After Completing the Puzzle)

Hint 1

You must arrange the cubes exactly as the puzzle shows. You will also need the tiltable picture above the stairs, the wall hooks, and the switches!

Hint 2

The puzzle represents a 3-row, 5-column pattern, but the top and bottom rows are incomplete. You need to mentally complete them and find the corresponding cubes!
The cubes must also form a 3-row, 5-column pattern—just like the puzzle!

Hint 3

After arranging the cubes, check the pattern above the stairs. This will show which cubes are needed for the switch settings!
The lines on the bottom of the cubes indicate their alignment, and the hooks on the cubes must be translated into directions!

Partial Solution

The first three switch positions/directions:
(I) 12 o’clock
(II) 7 o’clock
(III) 6 o’clock
(IV) ?
(V) ?

Solution

(I) 12 o’clock
(II) 7 o’clock
(III) 6 o’clock
(IV) 3 o’clock
(V) 9 o’clock

Room 3 – Trap

Hint 1

The countdown has started—you need to solve the puzzle!
(If you triggered the second trap in Room 4, focus on that first—it must be solved within 5 minutes!)

You will find small pictures of mountains and buttons on the floor (beneath the countdown timer).
Use the pictures to figure out the order in which to press the buttons!

Hint 2

If a picture depicts a mountain, press the button it indicates first, and continue in that order.


the maze.

Room 4 – Trap

Hint 1

You will find a wiring diagram for the cable connection at eye level on the cliff wall in Room 3!

AFTER SOLVING BOTH TRAPS

Hint 1

Below the second trap, you will find a box with a picture hinting at buttons!

Hint 2

Press the red buttons in Rooms 3 and 4 simultaneously!


Room 3 – mountains

Hint 1

It is necessary to note which mountain names are marked. These four mountain names must be remembered

Hint 2

In Room 4, you will see pictures on the wall with mountain names. Using the four mountain names marked in the previous room section, you can determine a specific time, which must be set on the clock! Don’t forget to insert the clock dials into the hands as well!

Hint 3

In Room 4, you will find pictures on the wall with mountain names.
Use the four mountain names found with the laser to determine a time, which you must set on the clock!
Don’t forget to insert the clock dials into the hands!

Partial solution Mountain Names

Partial Solution – Mountain Names

  • Aconcagua
  • Lautaro
  • Tajumulco
  • Teide

Hint 4

The mountain heights will help you determine the correct order!

Solution - Time

10:30

Room 5 – Skulls

Hint 1

You will find skulls, but one of them requires a tracker to obtain!

Hint 2

Place the correct tracker’s sensor on the X, and observe what opens!

Hint 3

The symbols on top of the cubes will help determine their order!

Hint 4

Think of it like dominoes—each cube has a central „main” symbol, and the adjacent ones indicate which cube should be placed next to it.

Hint 5

The cube with only one central symbol must be placed in the middle!
(Make sure all skulls are precisely positioned within the black square.)


Room 5 – Necklace

Hint 1

You need to fish out the necklace using the long-handled tool. Pressing the end will extend a claw!

Hint 2

After obtaining the necklace find the skeleton and put it to his chest!

Room 5 – Tombstones (After Placing the Necklace in the Correct Spot)

Hint 1

You will find an inscription on the ceiling—use it to identify matching inscriptions!
The walls of the room also contain helpful information for this task.

After identifying the correct tombstones, they must all be placed at the same time.

Puzzle

Hint 1

The puzzle pieces were found in Room 5!
Go to the corridor and use them there!